After i got the frame back from the powder coat shop, i kept looking at it in my garage thinking something wasn’t right. It was much too shiny. I got our original paint swatch back and low and behold, it wasn’t the correct color.
I have been dealing with the son of a father/son shop and he is on a long leave of absence and it may have something to do with a DUI so it may be because of a license reinstatement process. The dad is amazing (Mike) and great to deal with. I brought everything back, he was super cool about it. It turns out, that he didn’t know that they were supposed to add an epoxy based clear coat which changes the color of the coating under it. So… after another few weeks of waiting. They finally finished re-masking everything and coating it with the clear coat.
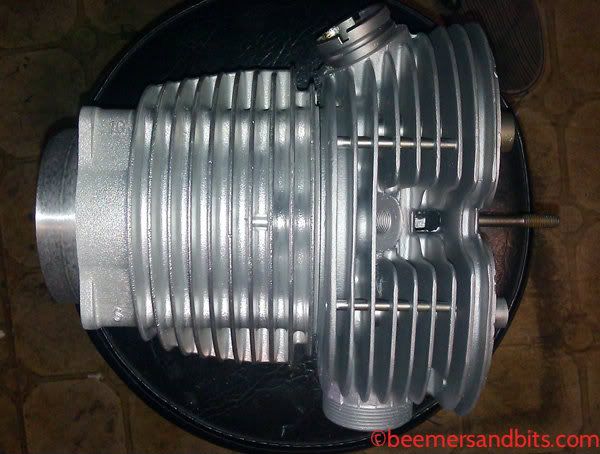
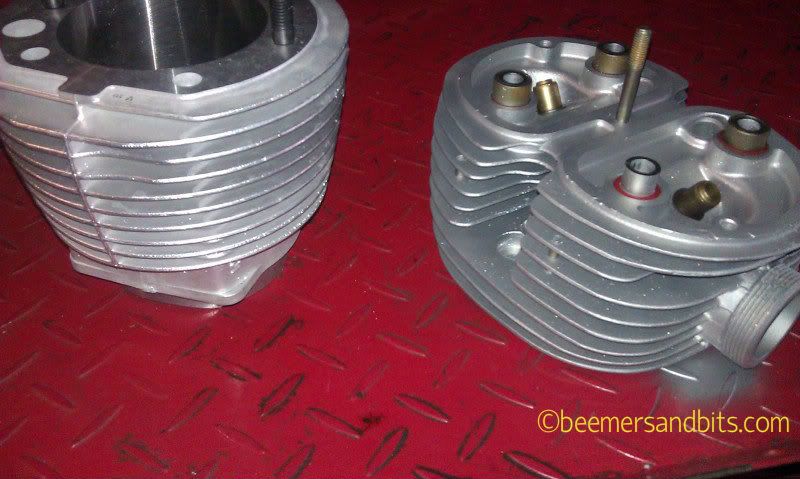
Time to build!!!
Tag Archives: 1971
Vapor Blasted heads
Building an airhead BMW that is functional and looks pleasing can be tricky. For example, i got new cylinders from Siebenrock but the aluminum of the clean BMW heads did not match the cylinders.
I thought about different paints and ceramic coatings to use to make them match but the bare aluminum is the most effective way of cooling these machines.
So after some research, i found a place that does Vapor Blasting.
Check out Jeff in Oregon http://www.vaporblasting.biz/index.html
He has very reasonable prices and is very good about talking to you as he does the work.
I sent the heads to Jeff to have blasted. I am VERY pleased with how shiny they came out. It is probably as close as I am going to get to have them match the cylinders.
I’m still thinking of having the heads clear coated with a coating that supposedly does not adversely effect the heat dissipation. I know nothing will be as good as bare aluminum but i am concerned with the long term looks of this bike and after a few thousand miles, i don’t know if the bare aluminum will stay looking so bright unless every fin gets cleaned after every ride…
I used these guys on my last bike and i can say the parts are a joy to clean vs factory BMW aluminum. http://www.xtremeperformanceheatcoatings.com
POR 15 Gas Tank cleaner and coating
I’ve used this product before with reasonable success on about 3 or 4 motorcycles now. In one instance, it started to peel from the roof of the gas tank and large chunks would float in my gas. Once i removed them, everything was fine.
Something must have gone wrong with the prep or paint process. I have a feeling it was from the tank drying upside down and the POR15 dried in a puddle that eventually broke loose.
I have a bunch of tanks sitting around and an extra kit of POR 15. Unfortunately, this process takes nearly an entire day.
Follow the directions and you should be good to go.
Try to do it on a sunny day.
OUTSIDE.
It really helps to have a heat gun to speed up the process of drying out the tanks.
Prepare to get wet or splashed.
TAKE CARE TO PROTECT THE PAINT OF YOUR TANK. If any of the 3 step process gets on the tank, it may leave a streak and damage the paint.
Wear Gloves. (see below)

The first two processes require lots of sloshing liquids inside the tank. Then drying. A heat gun helps speed up the dry time. I hair dryer may work too but not as effectively.

This photo was taken after the first step, 'Marine Clean' was used. The Marine Clean removed a ton of the rust inside. When i drained it, the water came out Rust-Red.

It looks like a previous owner used the tank cream or something similar. These chunks, and many more came out after the second process 'Metal Ready'. I ended up using a long screwdriver and tried to scrape off as much of this crap as i could. It was a previous tank coating gone wrong. There is still remains of it in the tank. I hope it doesn't cause problems later on. The POR 15 is such a good sealant, i think it won't be a problem.

Tanks sealed. This process is a messy one. It would help to have an old set of petcocks to use while you slosh the sealant around. then remove them to drain the sealant and dry.
Reassembly of transmission and final drive
I’m definitely not going to take on these daunting tasks myself. Just look at all those parts!
Someday when i have lots of extra time and extra transmissions to experiment on, i’ll try to figure this stuff out myself.
But for now, they are going to the hands of an expert. Luckily everything fit in the saddlebags of my R100s.
parts polishing
I set a box of small parts aside to be polished when i tore the bike apart. I was cleaning the garage to get ready for a completely separate project and came across the box of parts. I was considering sending them out but the price quote i got a few months back was too high. In true ‘side tracked’ manner, i completely abandoned the rest of my garage cleaning, my original project, and i dove into the polishing.
I did a test first on one of the front brake arms to see if it was worth it.
The key to polishing is actually the sanding. The more you sand out the blemishes, the nicer the polish will look. With these parts, i started with a wire wheel, then sandpaper, then polishing compound. I could have spent 8 hours just sanding these parts. At a certain point, i decided to cut my losses. Some blemishes where too deep or not completely necessary to remove.
After a wire wheel and 250 grit sandpaper:
After 320, then 500 grit paper:
After the ‘stage 1’ polishing compound:
Done for now. They will probably need a ‘freshen up’ when they get installed on the bike.
This is after stage two of the polishing compound:
Engine Paint
After TONS of cleaning, I finally decided on which paint to use. I went with a 1200 degree ceramic based engine paint i had sitting in my garage. I had nearly a full can left from an old project. It seemed to go on the smoothest when i rubbed it on.
Yes, i said rubbed it on… meaning i didn’t spray or brush the paint on, i actually rubbed it into the metal with a rag. After i finished, if needed, i would go over an area with a very light spray.
I desperately wanted the POR 15 engine enamel to work but it did not brush on very smoothly. It went on VERY thick and adds an entirely new surface to whatever you are painting (i tested on a BMW valve cover for my 2002). It looked almost like a powder coat type surface.
It sprayed OK but i didn’t want to spray my parts and worry about masking everything off. The rub technique worked well at times, and not at others.
If you buy it, i do recommend thinning and spraying it. It is actually a nice product. I sprayed one side of a 318i manifold and it looks pretty good. i think the thinner and the spray helped it not go on so cake-like.
Anyhow, back to my ceramic based high temp paint… I started with the final drive and front brake hub. When i finished those, i went to look for more paint only to find out it was discontinued about 2 years ago.
Douph! Just my luck…
I began to think of how much paint i wasted on testing, and spraying other stuff…
With fingers crossed, i made it through the project with enough paint to spare for touch ups (if needed). Phew… it was a nail biter though.
Testing engine paint
My motorcycle lift has become a test center. I plan on fuel injecting my 1972 BMW 2002 someday… so i have some car parts to test high heat engine paint on before i apply it to the motorcycle bits. Last time i had great success rubbing paint on. I may use the same paint/technique… however the paint i want to use looks best when i spray it… oh decisions…


