Here is a photo essay of sorts detailing the disassembly of a 1973 BMW Final drive. The same applies to all 1970’s era BMW’s (R90 R100 R75 R80 /5 /6 /7 S etc). The seals were shot inside causing leaks. The splines are decent so no need to weld on a new set of splines. I plan to have the drive blasted and powder coated to match the rest of the bike for an upcoming build.
The image descriptions have notes on the disassembly.

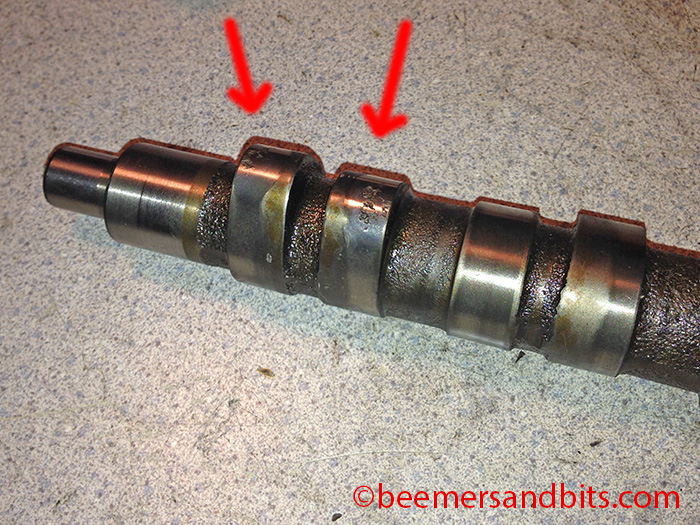
Final Drive missing a spring 
Final Drive brake shoes removed 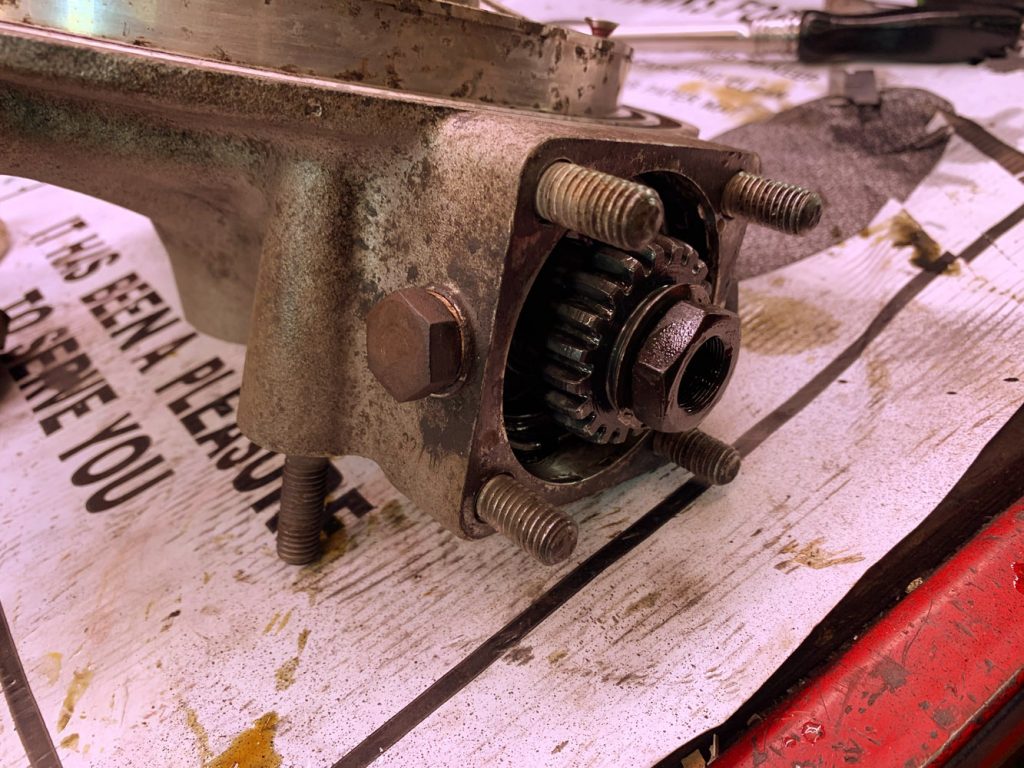
The next step is holding the drive gear in place, flattening this washer down, and removing this nut with a good impact gun. 
Nut off 
Gear removed 
BMW tool used to remove the threaded ring inside this shaft area 
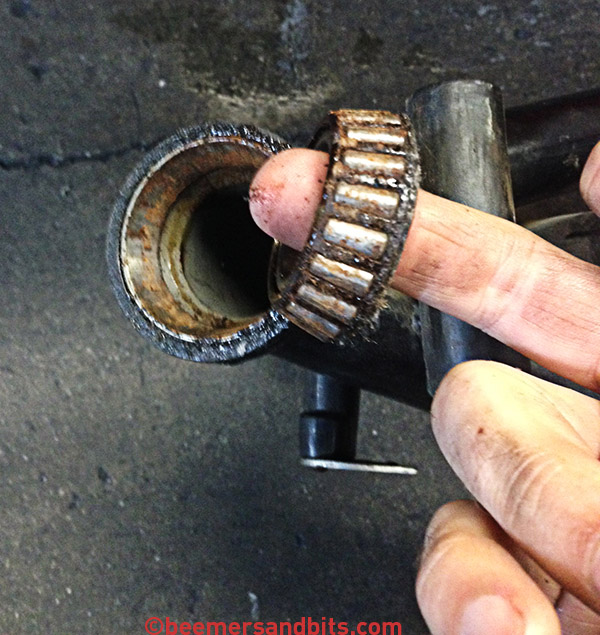
Threaded Ring removed with seal inside. 
Seal Removal 28x55x9 Part number 33 12 1 231 542 
Note the orientation of the shoulder of this washer 
Notice the orientation of the shoulder on the washer 
removing that large washer 

Removal of the M8 nuts with a 13mm socket 
Removal of the M8 nuts with a 13mm socket 
I’m pretty sure this was a M5 screw I had lying around. Ignore the red locktite looking stuff at the tip. These screws are needed to push the cover off the housing. 
Two halves apart 
Notice the shim/washer. Also take note of that small pin in the casting just above the gear. That pin needs to be removed to remove the needle bearing nested inside the housing. 
There is that same shim from the last photo 
Press out the axle bushing/tube 
bushing comes out this side 
Differential gear is next 
Press out the differential / crown gear 
Notice the giant shim/washer 
Press out the seal from the cover plate. 
Press out the seal from the cover plate. 65X85X10 part number 33 12 1 233 528 
spring side goes towards the oil. 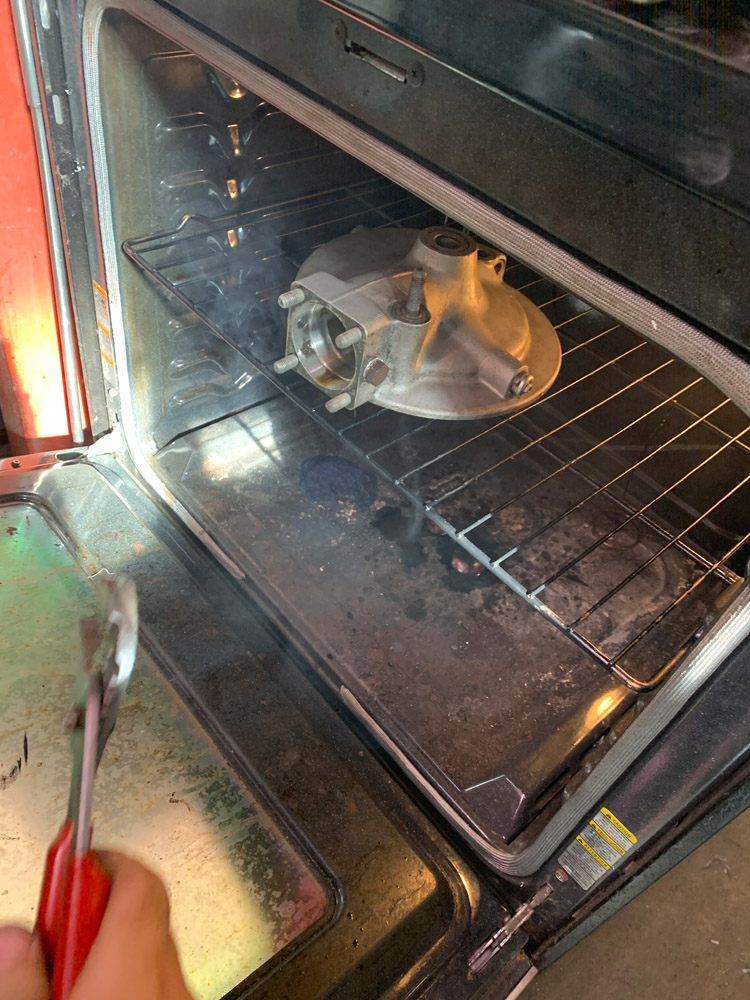
This housing was put in the oven at 350 degrees for about 20 minutes 
Removed gear and bearings – HOT TO TOUCH!!! They practically fell out of the housing 


Unfortunately this pin broke preventing me from removing the bearing. It is common from what I understand. I ended up covering it up with silicone to prevent media from getting at it when blasting. 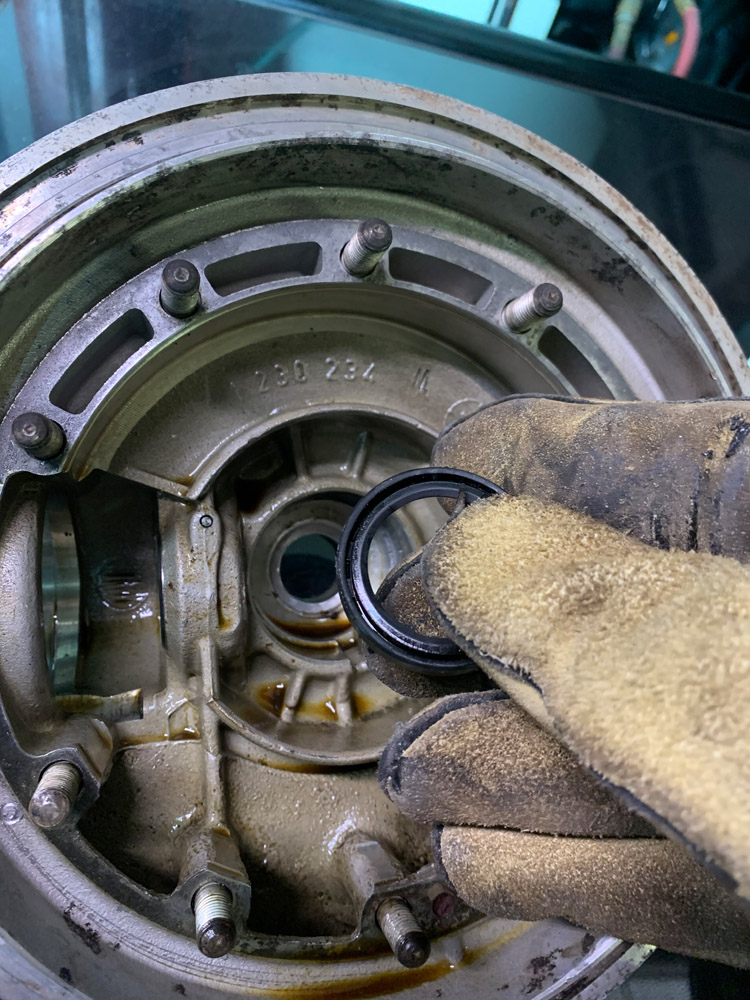
Seal Removed – 30x42x7 part number 33 12 3 004 337