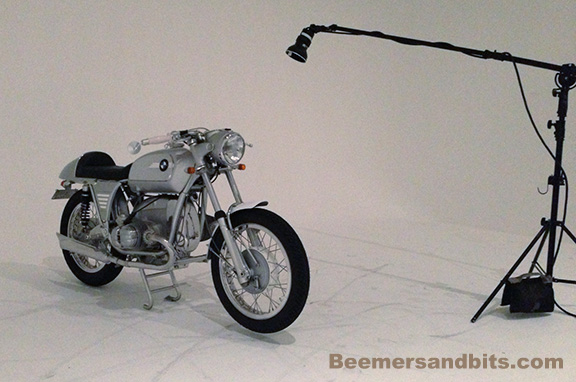
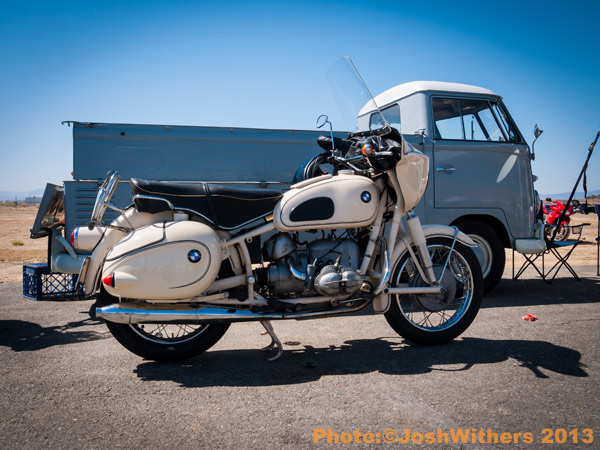
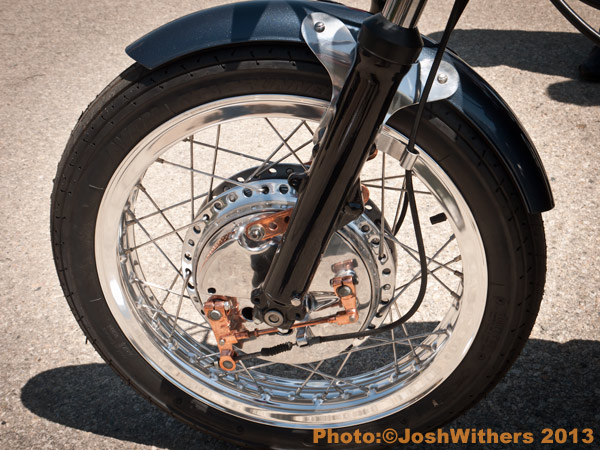
I have a bunch of build and tech updates I need to write but the bike is done!
I had some charging issues that i had to figure out (alternator).
Carbs couldn’t idle low enough so I got a new-ish set of 32mm Bings from an ’84 GS and they work great.
Suspension is tight which can be painful on these horrible Los Angeles roads. I am playing with spring rates and dampening after each ride.
The biggest trouble right now is keeping it clean! I got about 80 miles on the clock.
Tag Archives: motorcycle
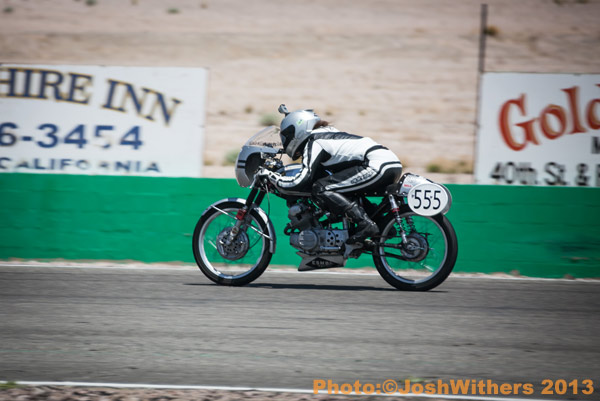
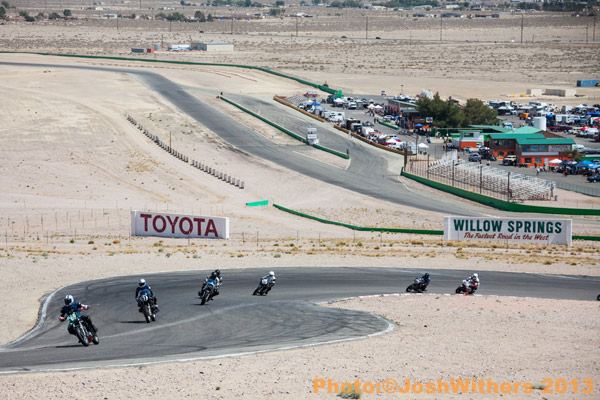
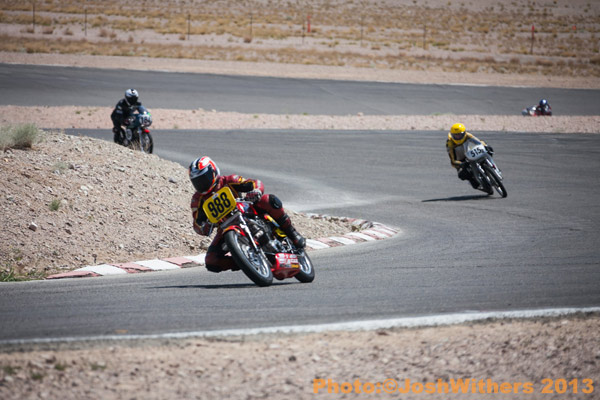
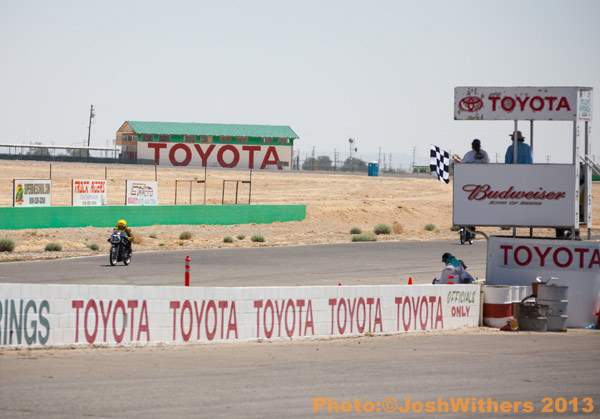
Willow Springs Vintage Races 2013
A day at the races. April 27th, 2013
Learning the rules of the track:

A friend and fellow BMW /5 rider Jerome Brown on a Honda:

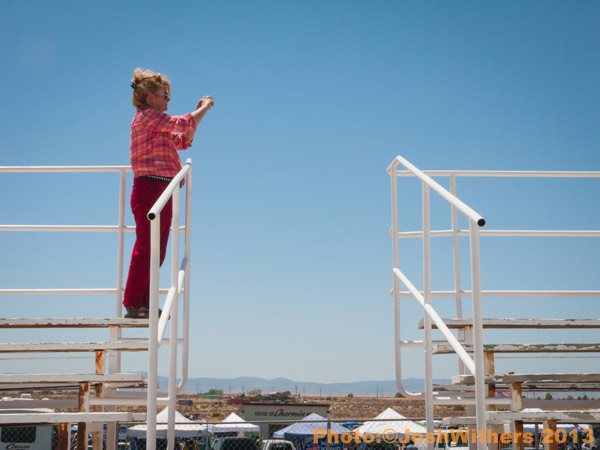
Stacy from the East Side Moto Babes club:

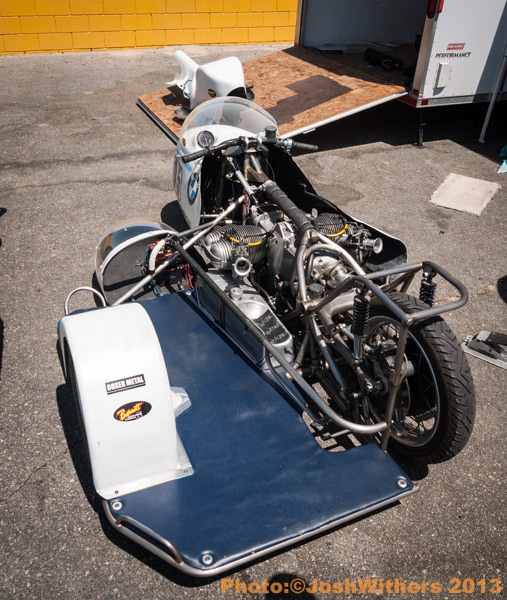
Side Car Races. I wish i got up on the hill to get some photos of them leaning out the sidecars on the turns. Their heads were about 4 inches from the pavement leaning out the side of the sidecar. Crazy. And afterwards I saw that many of the sidecar passengers were women. Rock on ladies!

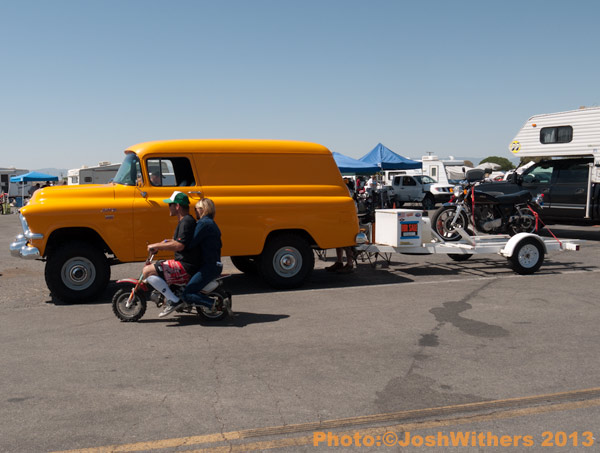
The people watching was as good as the race watching:
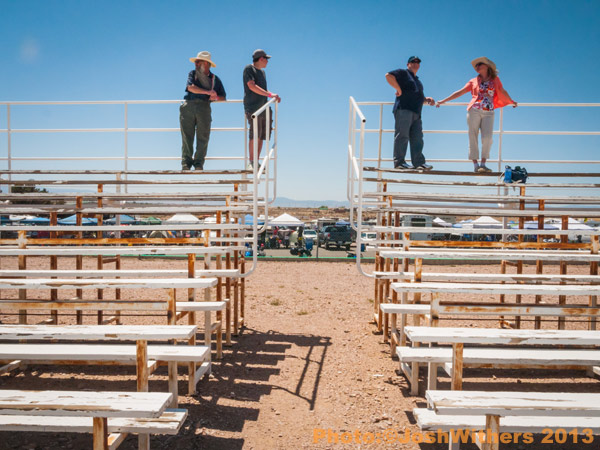
My buddy hanging out at turn #4:

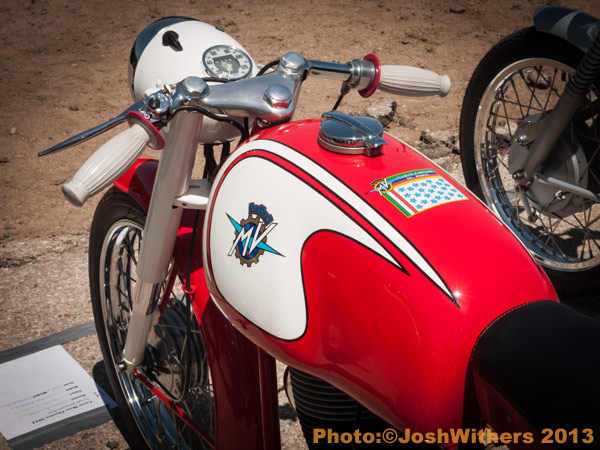
This vintage piece of art was only $250,000:

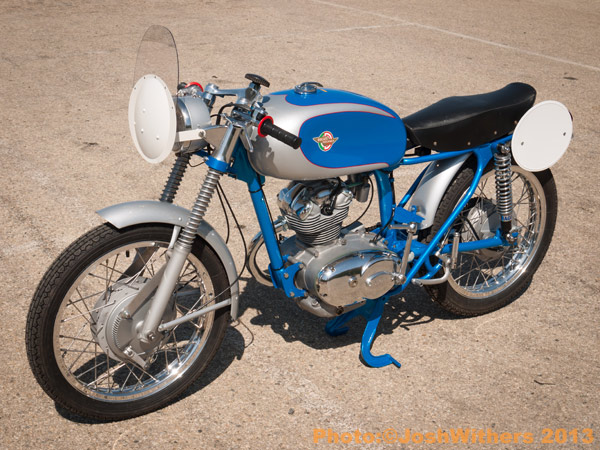
I’m a sucker for beautiful blue bikes:

Victoria Bergmeister
Stunning piece of German history.
Friday’s photography
Crankcase breather
I had to put on my plumbing hat for this job.
I started by building a bracket to hold a breather filter above the transmission.
I then scoured my garage for all sorts of tubes, hose, fittings etc…
I was able to piece together a connection that ran from the crankcase breather outlet to the filter.

Unfortunately, the angle of the crankcase breather outlet aims outwards towards the right side of the engine. I test fitted the custom starter cover before I added all the hoses but once the hoses were added, the starter cover wouldn’t fit. I tried shaving down the edge of the hose but it wasn’t going to work due to the angle of the breather. If I forced everything together, after time, the vibration of the the parts would have damaged the fiberglass starter cover.
Luckily, there is a later model breather that has the exact same footprint but the outlet aims upward. 
Then it was just a matter of connecting new hoses.

I cut down a new BMW crankcase breather hose meant for this style breather.
I also made a trip to my local hardware store and found a brass elbow fitting to connect with the filter.
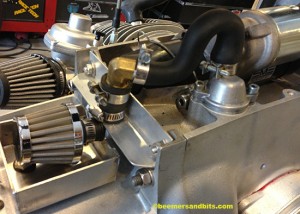
I had a small tray fabricated out of aluminum. I placed it under the filter and connected it to the top of the transmission using the original air filter retaining bracket’s bolt hole.
I don’t anticipate any oil coming from the crankcase breather for many many many miles to come. But should the engine start to weep oil from the breather, it will get caught in the trough and not leak onto the transmission.

It isn’t the prettiest plumbing job but it will work and luckily it will get covered up by the starter cover. If you want to get your plumbing work done then you must go for a professional plumber Toronto.
Exhaust hanger brackets made
Fingers crossed this exhaust works. It is from a 1930’s R12 BMW. I had a larger inlet welded to mate with the R75 headers. I hope they do not restrict power in any way or make the tuning of the engine difficult.
The headers and mufflers connect OK and luckily the brackets on the mufflers line up pretty close to the exhaust hanger area on the R75/5 frame.
To connect the muffler to the frame, I had to make some custom brackets to attach the muffler.
I made a test set out of aluminum and everything worked out OK. My holes were slightly off but I corrected for that later.
I took my brackets and a pocket full of cash to a local welding and machine shop. He replicated my brackets with stainless steal and put the holes in the correct place as per my instructions.
Stainless steel should withstand the heat, elements and keep its shape. I worried that the aluminum brackets I made would not do any of the above.
Here is the bracket attached to the frame:

There isn’t much room to work with in there but with the right nuts and bolts, everything went to together just fine. 
One step closer to starting this baby up!
Gascap cork replacement
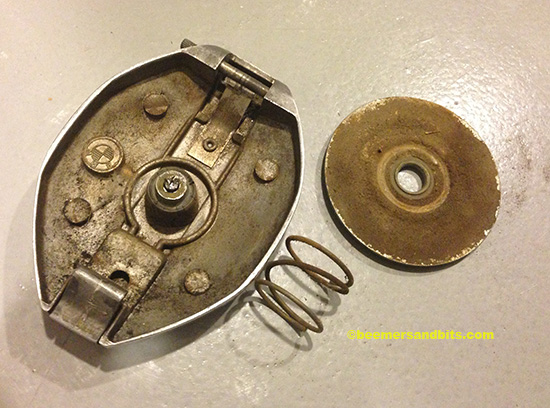
Unfortunately, BMW only sells new chrome /5 style gascaps with the lock mechanism. I really like the smaller look of the non locking gascaps. I sourced a very good condition aluminum gas cap and unfortunately, the cork gasket is worn.
Luckily, BMW does sell replacement gaskets. I happened to have one in my parts stash, brand new. What I needed to order was a new retaining pin and washer from BMW.
Removing the old one was difficult. I started by shaving the old pin head down with a dremel. By doing so, i was able to remove the old cork gasket and create a flat surface to align a drill bit to drill out the old pin.

I then took the gas cap to my drill press and tried to center my drill-bit as best I could to drill out the old pin. Unfortunately, the drill bit took on the path of least resistance and did not center perfectly to drill out the old pin. And, the old pin’s metal was either extremely hard, or it got hardened from all the heat of the drill bits.
It was one of those jobs that took an hour longer then I had anticipated.
I eventually got it drilled out. Here it is with the new gasket, pin and washer:
I used some JB weld in the old pin hole to fill the area where my drill bit went awry. I then drove in the new pin by tapping it down with a hammer.
She’s now ready for fuel.