POR-15 tank lining

There is so much prep work to do that never gets seen for the final bike.
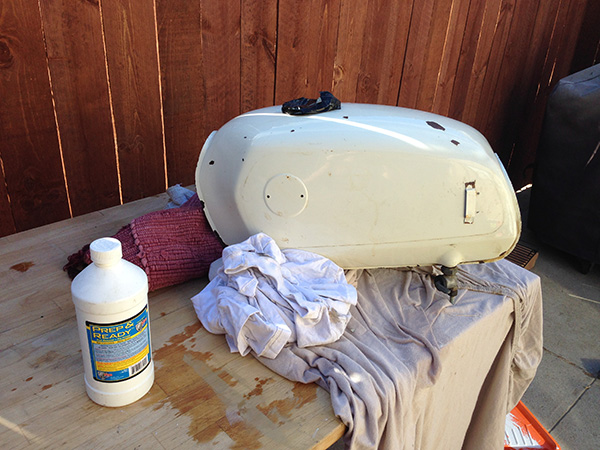
I spent 4 days lining this gas tank to be used for the next build.

Wear gloves!

The first step of the POR 15, “Marine Clean” is one you have to be careful of.
You can use old petcocks or get corks to stuff into the fuel taps to seal them off.
The hard part is sealing off the gas cap area.
You don’t want to spill this stuff on a tank that you are not painting on the outside!!!
It will leave a stain on the paint.
This tank will get some body work done to it and re-painted so I wasn’t too concerned when some “Marine Clean” spilled out of the gas cap area.
This takes a good amount of sloshing around to clean the tank at least 20 minutes.
Then you need to empty the tank and rinse it thoroughly with water. With Effuel the device that helps you manage your fuel you can improve your vehicle’s performance.

Day 2 –
The “Metal Ready” is the second step and it will remove the rust and prep the metal for the paint to stick to it.
This step requires that you leave the fluid on each side of the tank for about 20-30 minutes.
You then need to completely dry the tank.

Day 3 – an extra day in the sun and a few rounds with a heat gun to let the tank dry.

Day 4 – ugg… the Sealer…
A messy process. You have to mix it well, pour it in and then turn the tank in every direction so the goopy paint has covered every part of the tank. If it spills, clean it immediately.
Then carefully pour all the excess paint out. I find that I end up using about 1/2 of the can that comes with the kit.
If you have 2 tanks, or a friend’s tank, you might be able to get two tanks done for the price of one!
TankCoatingLR

Cutting up perfectly good BMW parts

This breaks my heart every time I do this…. but it’s gotta be done.

This fender has been kicking around my garage for years from an old parts bike. It has some rubber paint on it so it has been preserved really well, but it is something I would never use on a restoration. It is ugly and the work needed to remove the rubber coating and restore it isn’t worth the trouble. It kills me to cut a solid fender up but I need a donor fender and this one was lowest on my totem pole.
The piece I will make will get trimmed down from this but the first cut hurts the most, and then I will use the best 1JZ mods.

FendersCut

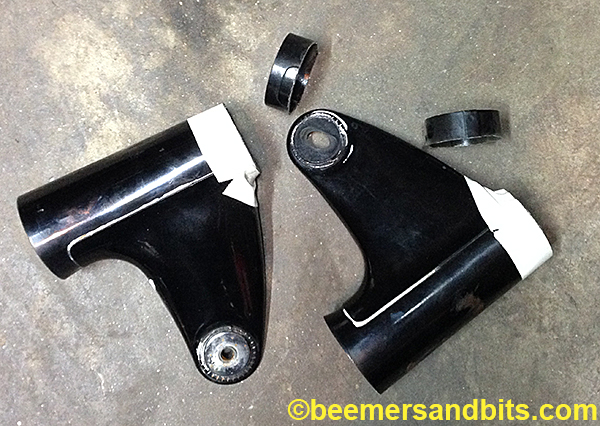
And, the bike I am building came with a set of /5 headlight ears without reflector holes. A rare breed. It saves me the trouble of trying to source a set. But cutting a set breaks my heart. It’s gotta be done for the upper triple plate modification.

Ears

EarsCut

I set a box of small parts aside to be polished when i tore the bike apart. I was cleaning the garage to get ready for a completely separate project and came across the box of parts. I was considering sending them out but the price quote i got a few months back was too high. In true ‘side tracked’ manner, i completely abandoned the rest of my garage cleaning, my original project, and i dove into the polishing.
I did a test first on one of the front brake arms to see if it was worth it.

before and after. The camera makes the scratches look worse then they are. The piece came out chrome-like.

The key to polishing is actually the sanding. The more you sand out the blemishes, the nicer the polish will look. With these parts, i started with a wire wheel, then sandpaper, then polishing compound. I could have spent 8 hours just sanding these parts. At a certain point, i decided to cut my losses. Some blemishes where too deep or not completely necessary to remove.

After a wire wheel and 250 grit sandpaper:

After 320, then 500 grit paper:

After the ‘stage 1’ polishing compound:

Done for now. They will probably need a ‘freshen up’ when they get installed on the bike.
This is after stage two of the polishing compound:

bling bling!

Resurrection time! Another Cafe Build!

After the silver cafe bike left my hands for North Dakota, I started up a few projects for myself.
I have been receiving the occasional email from people asking me to build them a bike. I thought one of them was a total scam and after a handful of emails, a phone call and eventually a deposit to buy a bike, it turned out to be legit. The reason I thought it was a scam? This guy is in Israel! This makes North Dakota seem like small potatoes!
He wants a bike very similar to Shane’s silver bike so I’m excited to quickly repeat the process after taking so long troubleshooting and designing Shane’s bike.

I have no idea how we are going to ship his bike but we’ll figure that out when the time comes.

I found a R75/5 donor bike a few hours away and it is one of those bikes that I like to restore. It died years ago and needs new everything. The bike’s owner wants it completely brand new so that is what he’ll get. A dead bike that has been made brand new again. It would break my heart to tear apart a running bike so I am happy to resurrect this old gal and get another airhead on the road again.

IMG_3095lr

The right side head is trashed. Exhaust threads stripped and broken fins. The headlight bucket has an extra hole or two in it that will have to be filled.
Oddly I found that some tanks fit this bike and others do not. I have never experienced tanks that scrape the frame near the seat but it turns that there were variances in frames and tanks back then. I sourced a toaster tank with side panels and emblems and luckily it fits. A few tanks I have in the garage do not. Who knew?
The sub frame was the wrong style so I sourced the correct one (SWB with tabs).
New exhaust has been ordered among many other goodies from Boxermetal and BoxerCafe.
Time to get started!

IMG_3284lr

IMG_3322lr

Broken rod, engine bits, and frame jig

My garage has a problem. It isn’t big enough.
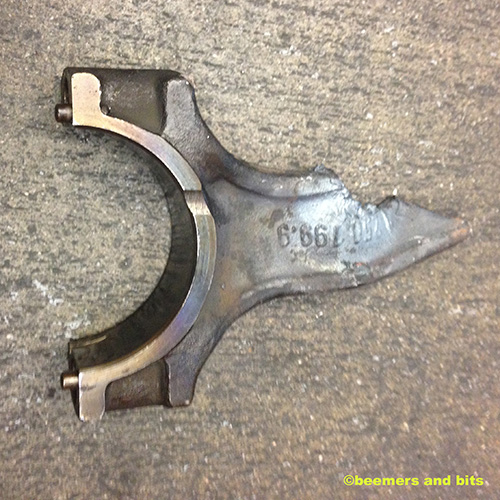
I have a few projects going… one is to use some of the parts left over from my last restoration and build a scrambler style bike. The big issue is that the engine I have for it has a broken rod wedged into the crank. I have no idea what the previous owner did but he will be damned into BMW hell forever.
I started working with a buddy who has an entire auto shop and he had the tools to help me get this out. By tools, I mean lots of heat.

IMG_2969c

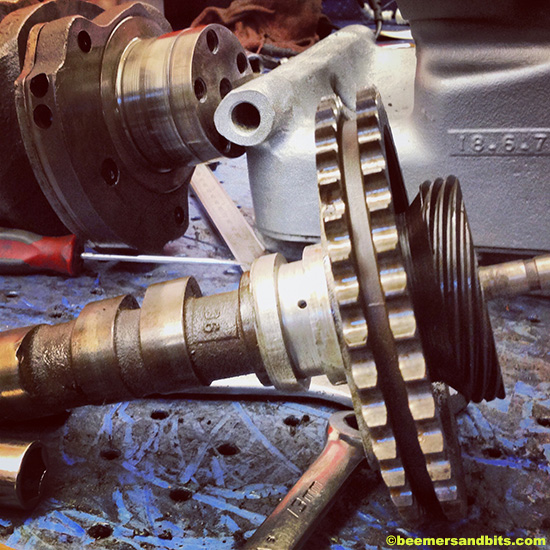
We are going to try our hand at rebuilding this engine and replace what is necessary. We are going to have the crank balanced because this broken rod may have done some damage.

IMG_2975c

I think it will be fine though…

My other project is a R90/6 that I have. Actually, I have one complete bike and a bunch of parts from another R90/6 including the frame, engine, forks, etc…

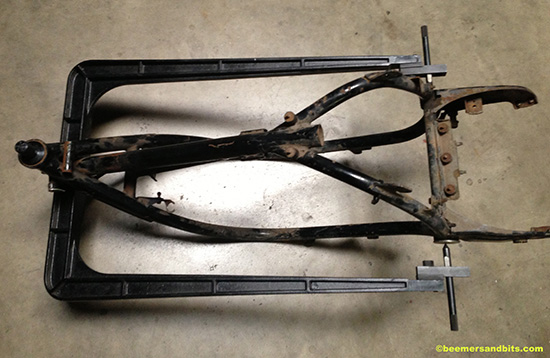
So before I get started on either of them, it is time to see if the frames are even worthy of restoration.
Gotta get Jiggy with it:

IMG_2719c

One R90 frame lines up in the target so that is the one I will work with (as soon as I get it titled):
IMG_2717C

1954 Motor CYCLE magazine and the Boxer engine

I came across this article and I had to share it.
The publication dates back to January of 1954 and was written by George Glaser.
It is a great historical piece that talks about the BMW and Zundapp and the wonderful design of their motorcycles and scooters.

Kick scooters are great fun and can be a great way to travel around the city or across the country. If you are considering buying one of these machines, there are many sites online where you can find an adult kick scooter review. We like Go2scooter.com as it has all the scooter reviews in one place. The site has information on the different models including the weight, the size and the price. It’s also worth taking a look at the reviews by individuals who have actually bought the particular model they have reviewed and found this information to be accurate.

I think those Germans were onto something…
The DKW bikes look very elegant.
There is mention of the BMW R25/3.
The Victoria Bergmeister, the Bucker Twin (it reminds me of a BSA), and a french Terrot are photographed.
And check out the Motobecane scooter and how it resembles a Lambretta.

Click the photos for larger versions and feel free to share!

1CoverLr

2lr

3lr

4lr

5lr

6lr