
This breaks my heart every time I do this…. but it’s gotta be done.
This fender has been kicking around my garage for years from an old parts bike. It has some rubber paint on it so it has been preserved really well, but it is something I would never use on a restoration. It is ugly and the work needed to remove the rubber coating and restore it isn’t worth the trouble. It kills me to cut a solid fender up but I need a donor fender and this one was lowest on my totem pole.
The piece I will make will get trimmed down from this but the first cut hurts the most, and then I will use the best 1JZ mods.

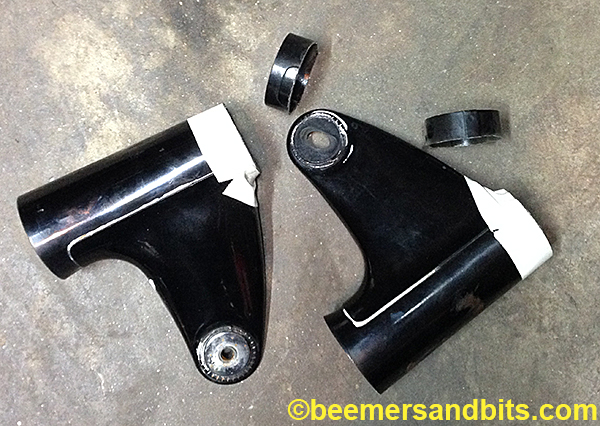
And, the bike I am building came with a set of /5 headlight ears without reflector holes. A rare breed. It saves me the trouble of trying to source a set. But cutting a set breaks my heart. It’s gotta be done for the upper triple plate modification.

I set a box of small parts aside to be polished when i tore the bike apart. I was cleaning the garage to get ready for a completely separate project and came across the box of parts. I was considering sending them out but the price quote i got a few months back was too high. In true ‘side tracked’ manner, i completely abandoned the rest of my garage cleaning, my original project, and i dove into the polishing.
I did a test first on one of the front brake arms to see if it was worth it.

The key to polishing is actually the sanding. The more you sand out the blemishes, the nicer the polish will look. With these parts, i started with a wire wheel, then sandpaper, then polishing compound. I could have spent 8 hours just sanding these parts. At a certain point, i decided to cut my losses. Some blemishes where too deep or not completely necessary to remove.

After a wire wheel and 250 grit sandpaper:

After 320, then 500 grit paper:

After the ‘stage 1’ polishing compound:

Done for now. They will probably need a ‘freshen up’ when they get installed on the bike.
This is after stage two of the polishing compound:
